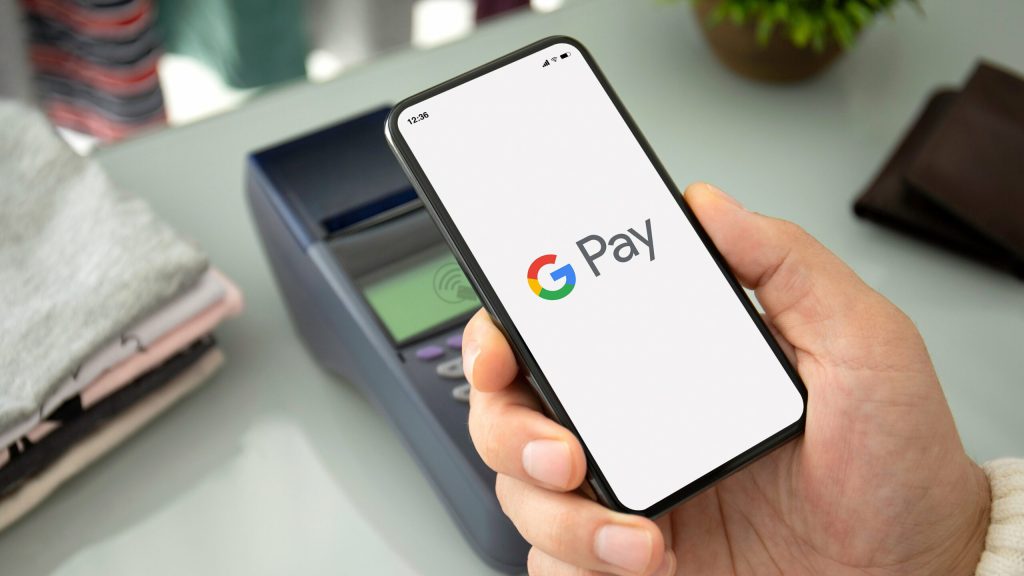
The feature was announced by RBI Governor Shaktikanta Das in September

Unified Payments Interface (UPI) members can use the ‘Tap & Pay’ functionality by January 31, the National Payments Corporation of India (NPCI) has stated in a circular.
What is UPI’s ‘Tap and Pay’?
It was announced by Reserve Bank of India (RBI) Governor Shakitkanta Das at the fourth edition of the Global Fintech Fest, held in Mumbai-India in September. NPCI describes the facility as a ‘novel way to make your UPI transactions, keeping things easy, safe, and instant.’
Feature of UPI-NFC.
- Here, instead of the camera, non-field communication (NFC) technology captures a payee’s UPI ID or a Virtual Payment Address (VPA).
- It can be accessed only on phones or devices that have NFC capability.
- To make the payment, one must look for the ‘Tap & Pay’ button on their UPI app; the transaction will be completed by tapping the device on the UPI Smart Tag/Smart QR.
- Transactions of up to and including ₹500 will be done through UPI LITE, and those exceeding ₹500, via the UPI PIN.
- The feature is available for both Android and iOS and is currently live on two apps: BHIM and Paytm (only for limited users).
How UPI’s Tap And Pay Work? Step By Step Process
As the Unified Payments Interface (UPI) introduces the Tap & Pay feature, users can now experience a more fast and efficient way of conducting digital transactions. With the rollout scheduled for January 31, those eager to adopt this revolutionary way of payments must comprehend how UPI Tap & Pay functions.
Step 1: Access Your UPI App
Initiate the process by opening your preferred UPI application on your device. Ensure that your UPI application is updated to the latest version to seamlessly incorporate the Tap & Pay feature.
Step 2: Locate Tap & Pay Option
Within the UPI application, navigate to the designated section labeled “Tap & Pay.” This may be prominently featured on the application’s home screen or within the settings menu, depending on the application’s design.
Step 3: Enable Tap & Pay Functionality
Now enable the Tap & Pay feature. This step may involve a simple toggle switch or a confirmation prompt, depending on the UPI App’s interface. Ensure that you follow any on-screen instructions to activate Tap & Pay successfully.
Step 4: Set Preferred Payment Method
In Tap & Pay section, you may have the option to set your preferred payment method. This could include selecting a linked bank account or specifying a default payment source for Tap & Pay transactions.
Step 5: Complete One-Time Authentication
For security, UPI Tap & Pay may require a one-time authentication process. This could involve entering a secure PIN, biometric verification, or any additional security measure implemented by the UPI app.
Step 6: Initiate Tap & Pay Transaction
After activating the Tap & Pay feature you’re ready to make a payment. Simply approach the payment terminal or recipient’s device, and tap your mobile device against it. The transaction will be initiated instantly.
Step 7: Payment Receive Confirmation
After successful completion of the Tap & Pay transaction, you should receive a confirmation notification on your UPI app. This notification will include details such as the transaction amount, and recipient details.
Hi, this is a comment.
To get started with moderating, editing, and deleting comments, please visit the Comments screen in the dashboard.
Commenter avatars come from Gravatar.